Sometimes you need to migrate a new website from the root directory of the domain, for example you want move your website from http://www.mydomain.com to http://www.mydomain.com/wordpress/
If you need help follow the instructions below.

Backup all the WordPress files and MySql script onto your local drive
Create the new location for the core WordPress files to be stored, create the subfolder in the htdocs of the Apache installation: $APACHE_HOME\htdocs\wordpress
Copy or move all the files and subfolders in the new folder.
Change all the references in the
Login to phpMyAdmin, click the link to your wordpress database and look for the table "wp_options", open the table and watch the "option_name" column, scroll down and look for "siteurl" and "home". Change the value from http://www.mydomain.com to http://www.mydomain.com/wordpress/
Login to the new wordpress url: http://www.mydomain.com/wordpress/wp-login.php
If you are using Permalinks, go to the Administration > Settings > Permalinks panel and click UPDATE
Now we must modify the existing image/media links uploaded media, you must install the Better Search Replace plugin and activate it https://wordpress.org/plugins/better-search-replace/
Open the menu Tools --> Better Search Replace
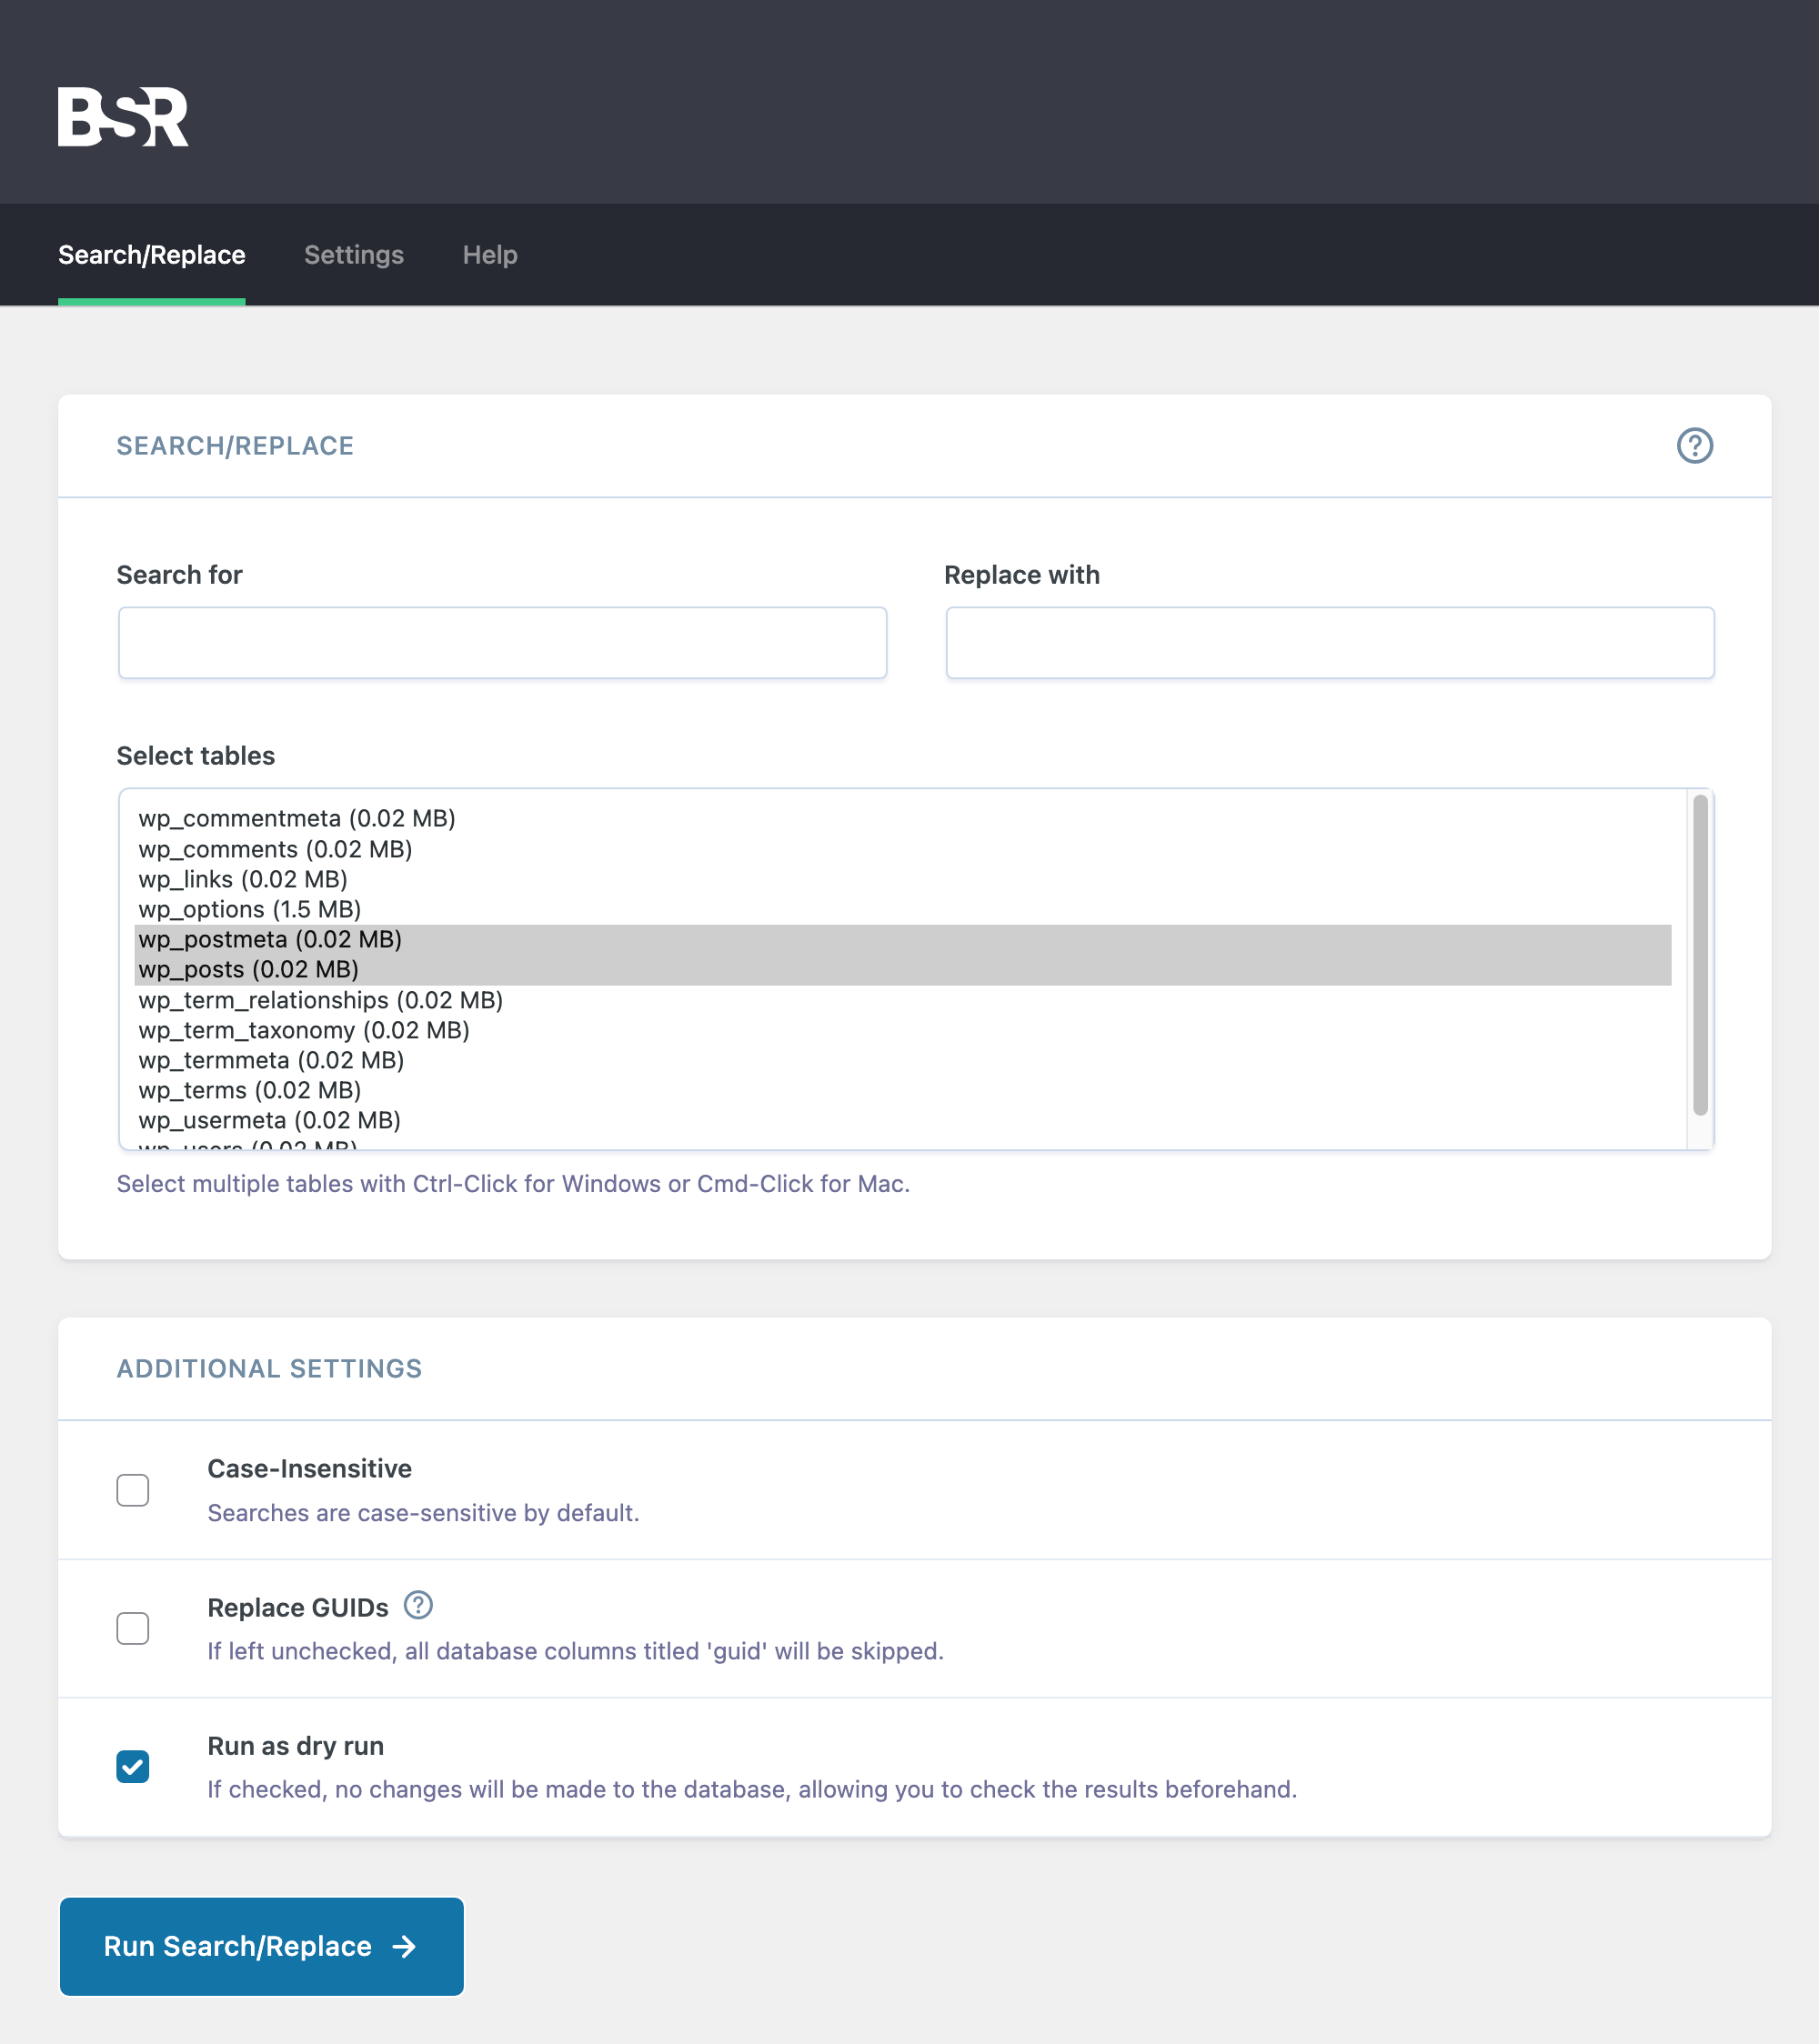
Write in the "Search for": http://www.mydomain.com
Write in the "Replace with": http://www.mydomain.com/wordpress/
Select the checkbox you want and click "Run Search/Replace"
You have now completely moved your wordpress instance in the subfolder.
If you continue to have 404 error on permalinks then check if
<VirtualHost IP>
ServerName domain.com
ServerAlias www.domain.com
DocumentRoot /var/www/mydomain
ServerAdmin webmaster@domain.com
<Directory "/var/www/mydomain">
Options FollowSymLinks
AllowOverride All
Order allow,deny
Allow from all
</Directory>
</VirtualHost>
If you need help follow the instructions below.
Backup all the WordPress files and MySql script onto your local drive
Create the new location for the core WordPress files to be stored, create the subfolder in the htdocs of the Apache installation: $APACHE_HOME\htdocs\wordpress
Copy or move all the files and subfolders in the new folder.
Change all the references in the
.htaccess file. It is a hidden file and should be located in the root folder for WordPress.Login to phpMyAdmin, click the link to your wordpress database and look for the table "wp_options", open the table and watch the "option_name" column, scroll down and look for "siteurl" and "home". Change the value from http://www.mydomain.com to http://www.mydomain.com/wordpress/
Login to the new wordpress url: http://www.mydomain.com/wordpress/wp-login.php
If you are using Permalinks, go to the Administration > Settings > Permalinks panel and click UPDATE
Now we must modify the existing image/media links uploaded media, you must install the Better Search Replace plugin and activate it https://wordpress.org/plugins/better-search-replace/
Open the menu Tools --> Better Search Replace
Write in the "Search for": http://www.mydomain.com
Write in the "Replace with": http://www.mydomain.com/wordpress/
Select the checkbox you want and click "Run Search/Replace"
You have now completely moved your wordpress instance in the subfolder.
If you continue to have 404 error on permalinks then check if
- AllowOverride Not Enabled
- Your server may not have the AllowOverride directive enabled. If the AllowOverride directive is set to None in your Apache httpd.config file, then .htaccess files are completely ignored. In this case, the server will not even attempt to read .htaccessfiles in the filesystem. When this directive is set to All, then any directive which has the .htaccess Context is allowed in .htaccess files. Example of enabled AllowOverride directive in httpd.config:
 <Directory />
    Options FollowSymLinks
    AllowOverride All
 </Directory>
You may also have to enable the AllowOverride directive in your DocumentRoot:
 <Directory /var/www/html>
    # ... other directives...
    AllowOverride All
 </Directory>
VirtualHost example<VirtualHost IP>
ServerName domain.com
ServerAlias www.domain.com
DocumentRoot /var/www/mydomain
ServerAdmin webmaster@domain.com
<Directory "/var/www/mydomain">
Options FollowSymLinks
AllowOverride All
Order allow,deny
Allow from all
</Directory>
</VirtualHost>


